How To Create A Cinnabun For Your Long Hair
How to Make a Cinnamon Bun (Cinnabun)
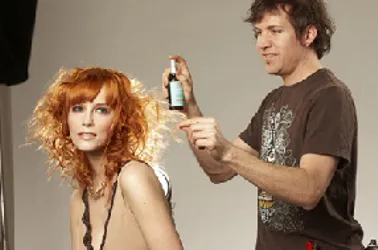
 Chiseling two cinnabuns along the hairline of a model for a romance novel cover shoot was the ultimate death of a recent Shear Genius 3 contestant. The judges instantly recognized the popular buns and deducted major points.
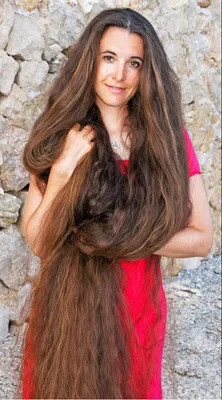
While cinnamon buns are probably not appropriate for a professional model shoot, they are idea for people with long hair. Why? It keeps the hair easily tucked and safe from snagging or ripping.
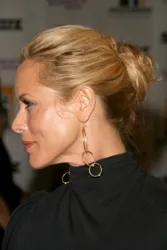
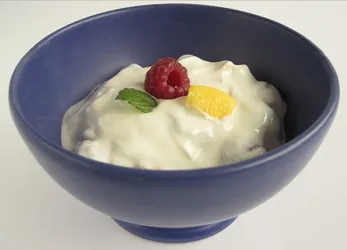
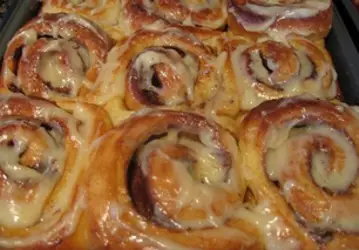
(This hair bun when twisted and twirled correctly looks very much like the dessert except without the icing)
The cinnamon or cinnabun may sound complicated, but in reality it is considered to be one of the more simple updos that can be created on long hair.
Is it simple? For some people yes. For others, especially with extremely long or thick hair, it can take some practice to get it right.
The key to this simple but elegant bun is that you must have at least shoulder length hair to re-create this bun because of all the wrapping. Or if your natural hair is too short, you can also create this by first clipping on a long ponytail or other clip-in hair.
For most types of hair cinnamon buns hold firmly. Some hair which is fine or slippery may have a few more challenges. Ideally if hair is thick, has some natural wavy or curl and bend, it will hold quite well. The cinnabun can be worn positioned right at the hairline, the middle of the head, at the crown or near the nape of the neck. The choice is entirely yours.
The finished bun can be worn plain or amped up with hair jewels and accessories to achieve a casual or elegant look.
The name "cinnamon bun" refers to the fact that when perfectly executed the hairstyle looks like a cinnamon bun at the back of your head.
Cinnamon Bun How To Steps
1. On clean hair (slightly aged is best) use a boar bristle brush and direct your hair back into a ponytail. The base of the pony should be positioned at the location where you want the bun to rest. Secure the base with a "hair friendly" pony elastic the same color as your hair. I prefer either Blax or Bungee bands but any hair friendly band will do.
2. Once you have created the pony, detangle it from the base to the ends with a boar bristle brush or finger pick any tangled strands. This is important because once you start twisting the tail any tangled hair will become even more snarled.
3. Hold the base of the ponytail and twist the hair in a firm clockwise direction.
Note: Some people prefer to twist in a counterclockwise direction and either can work to create the same formation.
4. As you twist the tail it will form a natural bend or kink which is part of the cinnabun resting against the scalp. As you continue to twist the hair, use one hand to gently push the kinked section against the scalp while you continue to twist.
5. Continue to twist your hair as it kinks into a spiral down the length of the tail until you have reached the very end.
6. Hold the newly twisted rope against your scalp, coaxing it if necessary, into a spiral shape like the sections of a cinnamon bun.
7. As you get to the bottom of the tail you can stop twisting the hair.
8. Wrap the twisted strand around the newly kinked hair sculpture which is the new bun.
9. When you reach the end of the tail, use your fingers to tuck the end underneath the coil.
Use bobby pins the same color as your hair to pin the ends down. If you prefer, use other hair-friendly hair accessories, jewels or toys. Experiment with hairsticks, beak clips, combs or a large double pronged chignon pin.
When Coils Push Up Center Of The Bun
If you have extremely long hair you may have more than one layer of coils. You may find the center coil keeps popping out. One cause may be that you're twisting the ponytail too tightly. On option is to try twisting the tail into a looser coil and see if that resolves the issue.
Or sometimes if you loosen the coils after wrapping them it can help the bun lay flatter. You can also try flipping the bun up and pushing it against your scalp and then down again to get a flatter bun profile.
If you have multiple coils you can pin each section of the bun down. Cinnabuns may lay flatter if the ponytail is not secured with a pony elastic. Instead, hold the base of the pony with your fingers as you twist and wrap. Keep the coil as flat to the head as possible.
Molding your cinnabun to the desired bun configuration may take some practice and experimentation.
Another trick is to only twist the very first part of the cinnamon bun right at the ponytail base whether you use a pony elastic or not. The first twisted section is what holds the bun in place.
After that first part of the bun is twisted you can ease up on the tightness of the twisting. However, be sure to wrap the last inches of the tail around the base so that it will be hidden under the bun and not unwind itself. Secure tightly.
Remember, when it comes to learning this bun practice makes perfect.
More Information
Please follow me on Twitter at: http://Twitter.com/HairBoutique. I look forward to meeting new people from all walks of Twitter and learning from their Tweets. Visit us at Hairboutique.com located at: http://www.HairBoutique.com, on Facebook, MySpace and YouTube.
Thank you for visiting us at The HairBoutique Blog and for leaving your comments. They are very much appreciated. We apologize in advance but must remove any direct advertisements or solicitations.
Social Media Network Information
Please follow us on Twitter at: https://Twitter.com/HairBoutique. I look forward to meeting new people from all walks of Twitter and learning from their Tweets.


