Romantic Ringlet Curls: How To
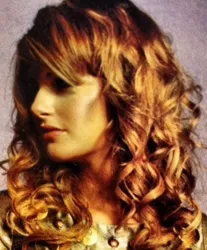
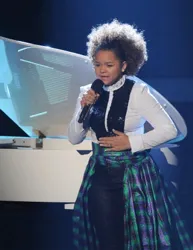
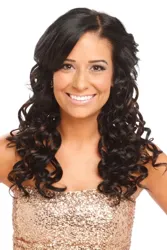
Romantic Ringlet Curls: How To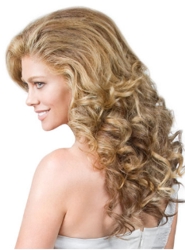 There comes a time in every girl's life where she wants ringlets. Of course it's necessary to have hair which is shoulder length or longer in order to create the ringlets. If you have human hair extensions or extensions which are heat resistant you can also create ringlets.
Ringlets often are easiest to create on hair which has natural bend, curl, wave or similar texture. If hair is bone straight naturally it's still possible to create ringlets with some work and styling.
(Image of Twitter - Image courtesy of WigSuperstore.com)
Known also as spiral curls, this look can be so much fun to showcase for the right occasion. Obviously the hairstyle might not work for someone in their 60s, 70s or 80s but you never know these days.
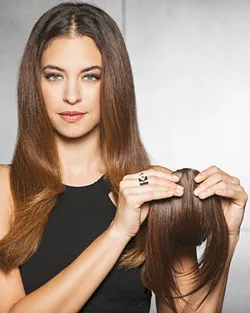
Also, if you want to avoid all the work to create spiral or ringlets on your own hair, take the easy way and check out the Kathy Ireland spiral curled wigs.
Follow the steps below to create romantic ringlet curls
Step 1: Start by detangling your hair from the ends to the roots with your fingers, a 100% boar bristle brush or a wide tooth comb.
Step 2: Cleanse hair in lukewarm water with products designed for your hair type, texture or current condition. Use your favorite cleansing formula whether it be full shampoo, Diluted Shampoo (DS), low poo, Conditioner Only Wash (CO Wash), water only or a combination.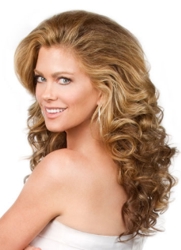 Step 3: Rinse well, apply rinse out conditioner and detangle in the shower with fingers or a wide tooth comb. Finish with a cool/cold water rinse.
Step 5: Separate hair in 8 separate sections. Work on each individual section at one time, starting at the fringe, with a round brush and a blow dryer with a concentrator attachment. Direct the air flow from the ends to the roots to build in natural volume and lift.
Step 6: Once hair is 100% dry separate it into 8 or more equal sized sections. Use a 1-inch barrel curling iron and wrap hair around the barrel in a ringlet formation. It's always best to work in smaller sections to guarantee a well-formed curl.Step 7: After every ringlet is formed on the iron, roll the newly formed curl around your finger and then pin to your scalp. If you prefer a strong ringlet then roll the new curl around a soft sponge or similar roller in a ringlet formation to cool and set.
Step 8: When all the curls have been formed, spray over all of them with a soft flexible hold hairspray.Note: Skip this step if your hair holds a curl well and you want a softer hold.
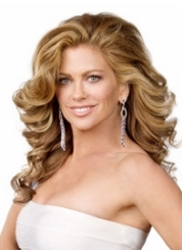 Step 9: Unpin the individual ringlet curls and bend over at the waist to gently loosen and tousle. Use fingers to style. Pull gently on any ringlets which are too tight to loosen and soften. Be careful not to break apart any of the formed curls which could result in frizz.
If any of the ringlets drop or are not formed to your desired tightness, fine tune with the curling iron.
More Information
Please follow me on Twitter at: http://Twitter.com/HairBoutique. I look forward to meeting new people from all walks of Twitter and learning from their Tweets. Visit us at Hairboutique.com located at: http://www.HairBoutique.com, on Facebook, MySpace and YouTube.
Thank you for visiting us at The HairBoutique Blog and for leaving your comments. They are very much appreciated. We apologize in advance but must remove any direct advertisements or solicitations.Social Media Network Information
Please follow us on Twitter at: https://Twitter.com/HairBoutique. I look forward to meeting new people from all walks of Twitter and learning from their Tweets.


